These Butterfinger Balls are a no-bake treat made with crushed Butterfinger candy bars, creamy peanut butter, and a smooth chocolate coating. They’re rich, crunchy, and incredibly easy to make with just a handful of ingredients. Perfect for holiday cookie trays, parties, edible gifts, or whenever you’re craving a sweet, bite-sized dessert.
Preparation Time
- Prep Time: 20 minutes
- Chill Time: 1 hour
- Total Time: 1 hour 20 minutes
- Servings: 24 balls
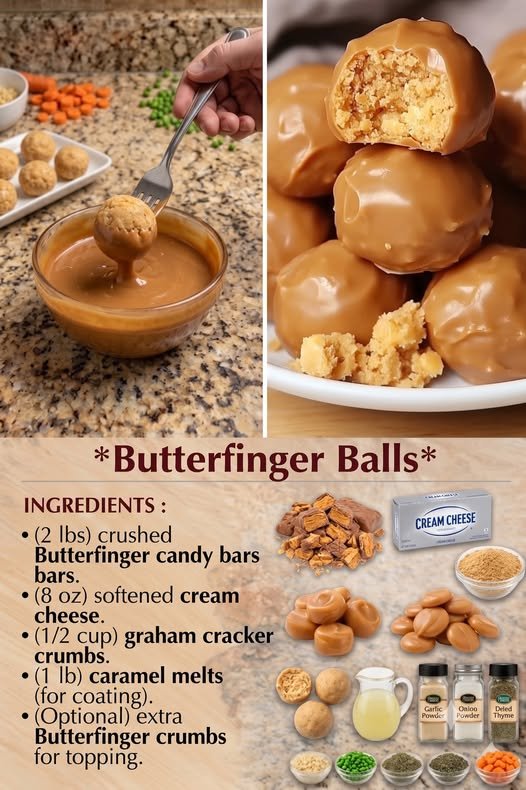
Ingredients
For the Filling
- 2 cups crushed Butterfinger candy bars (about 8 fun-size bars or 4 regular bars)
- 1 cup creamy peanut butter
- 4 tablespoons unsalted butter, softened
- 1 teaspoon vanilla extract
- 2 cups powdered sugar
- Pinch of salt
For the Chocolate Coating
- 12 ounces semi-sweet chocolate chips
- 2 tablespoons coconut oil or vegetable shortening
Optional Decorations
- Extra crushed Butterfinger candy
- Chocolate sprinkles
- Sea salt flakes
- Colored sprinkles (for holidays)
Equipment
- Large mixing bowl
- Electric mixer or sturdy spoon
- Baking sheet or tray
- Parchment paper
- Microwave-safe bowl or double boiler
- Fork or dipping tool
Instructions
Step 1: Prepare the Filling
In a large mixing bowl, combine:
- Peanut butter
- Softened butter
- Vanilla extract
Beat until smooth and creamy.
Gradually mix in:
- Powdered sugar
- Pinch of salt
Fold in the crushed Butterfinger candy until evenly distributed.
The mixture should be thick enough to roll into balls. If it’s too soft, refrigerate for 15–20 minutes.
Step 2: Roll the Balls
Line a baking sheet or tray with parchment paper.
Scoop about 1 tablespoon of the mixture and roll it into a smooth ball.
Place each ball on the prepared tray.
Repeat until all the mixture has been used.
Refrigerate for 30 minutes or freeze for 15 minutes until firm.
Step 3: Melt the Chocolate
In a microwave-safe bowl, combine:
- Chocolate chips
- Coconut oil
Microwave in 20-second intervals, stirring after each interval, until smooth.
Alternatively, melt the chocolate in a double boiler over simmering water.
Step 4: Coat the Balls
Using a fork or dipping tool, dip each chilled ball into the melted chocolate.
Let the excess chocolate drip off.
Return the coated balls to the parchment-lined tray.
While the chocolate is still wet, sprinkle with:
- Crushed Butterfinger candy
- Sea salt
- Sprinkles (optional)
Step 5: Chill
Refrigerate for 30 minutes, or until the chocolate is completely set.
Serve chilled or at cool room temperature.
Tips for Perfect Butterfinger Balls
- Crush the candy bars into small pieces, but leave a few larger bits for added crunch.
- Chill the filling before dipping to make the balls easier to handle.
- Use good-quality chocolate for the smoothest coating.
- Stir the chocolate often while melting to prevent scorching.
- If the chocolate thickens while dipping, gently reheat it for a few seconds.
Flavor Variations
White Chocolate Butterfinger Balls
Replace the semi-sweet chocolate with melted white chocolate.
Dark Chocolate Version
Use dark chocolate chips for a richer flavor.
Peanut Butter Lovers
Add an extra 2 tablespoons of peanut butter to the filling for an even creamier center.
Crunchy Peanut Butter
Use crunchy peanut butter instead of creamy for extra texture.
Holiday Version
Decorate with festive sprinkles or drizzle with contrasting melted chocolate.
What to Serve With
These sweet treats pair perfectly with:
- Hot coffee
- Hot chocolate
- Cold milk
- Vanilla ice cream
- Chocolate milkshakes
- Holiday dessert platters
Storage
Store in an airtight container in the refrigerator for up to 1 week.
Freezing
Freeze in a freezer-safe container for up to 3 months.
Separate layers with parchment paper to prevent sticking.
Thaw in the refrigerator before serving.
Nutritional Information (Per Ball)
- Calories: 180
- Protein: 3g
- Fat: 10g
- Carbohydrates: 20g
- Sugar: 16g
- Fiber: 1g
- Sodium: 85mg
Nutrition values are approximate and may vary depending on the brands of ingredients used.